Gluten-free Chocolate Chip Scones

I recently posted a picture on my Instagram of some AMAZING chocolate chip scones I had baked and got numerous messages asking for the recipe... ask and you shall receive! 

I want to preface this blogpost with PTL (Praise the Lord) I am not a food blogger! I ain't cut out for a spotless kitchen, making scones at 1 pm for "natural light" or spending hours getting every single photo of every single part of the process. I'm a no fuss type of gal and so this is a no fuss type of recipe and blogpost! My husband was craving scones at 8pm last night so I whipped these up real quick and just shot a few photos on my iPhone...

Lets talk about scones for a minute.... THEY. ARE. MY. FAVORITE. Some of my best childhood memories are making scone in the kitchen with my mom. We would put some loud music on and bake for hours! Her scones are the most delicious scones I have ever had in my life but let me just tell you they are NOT guilt-free! They also took a LONG time to make. When I discovered this new recipe, I couldn't believe how easy they were to make and how there was such minimal ingredients in them! They are gluten and grain free and are only sweetened with honey. I adapted this recipe from The Gluten-Free Homemakers Blog but changed it up a bit and added a couple more ingredients to make it even better (in my opinion!) ;) 

INGREDIENTS:

-3 cups almond flour 

-1 teaspoon baking soda

-1/2 teaspoon sea salt

-1/2 cup shredded coconut

-3/4 cup chocolate chips

-1/2 teaspoon vanilla extract

-1/4 teaspoon cinnamon

-1 tablespoon coconut oil 

-2 eggs 

-1/4 cup honey


INSTRUCTIONS:

1. Preheat oven to 350 and line a cookie sheet with parchment paper

2. In a medium bowl, mix together almond flour, salt, baking soda, coconut shreds, cinnamon, and chocolate chips 

3. In a small bowl, mix together eggs, coconut oil, and vanilla extract

4. Mix the wet and dry ingredients to form a dough

5. Sprinkle almond flour on a cutting board and form the dough into a pizza shape

6. Cut into slices 

7. Put scones on the lined cookie sheet

8. Bake for 10-12 minutes!

ENJOY!!! 

scones-4.jpg
scones-3.jpg
scones-2.jpg
scones-1.jpg

Staying safe in the SUN!

Hawaii Travel Tropical Vacation

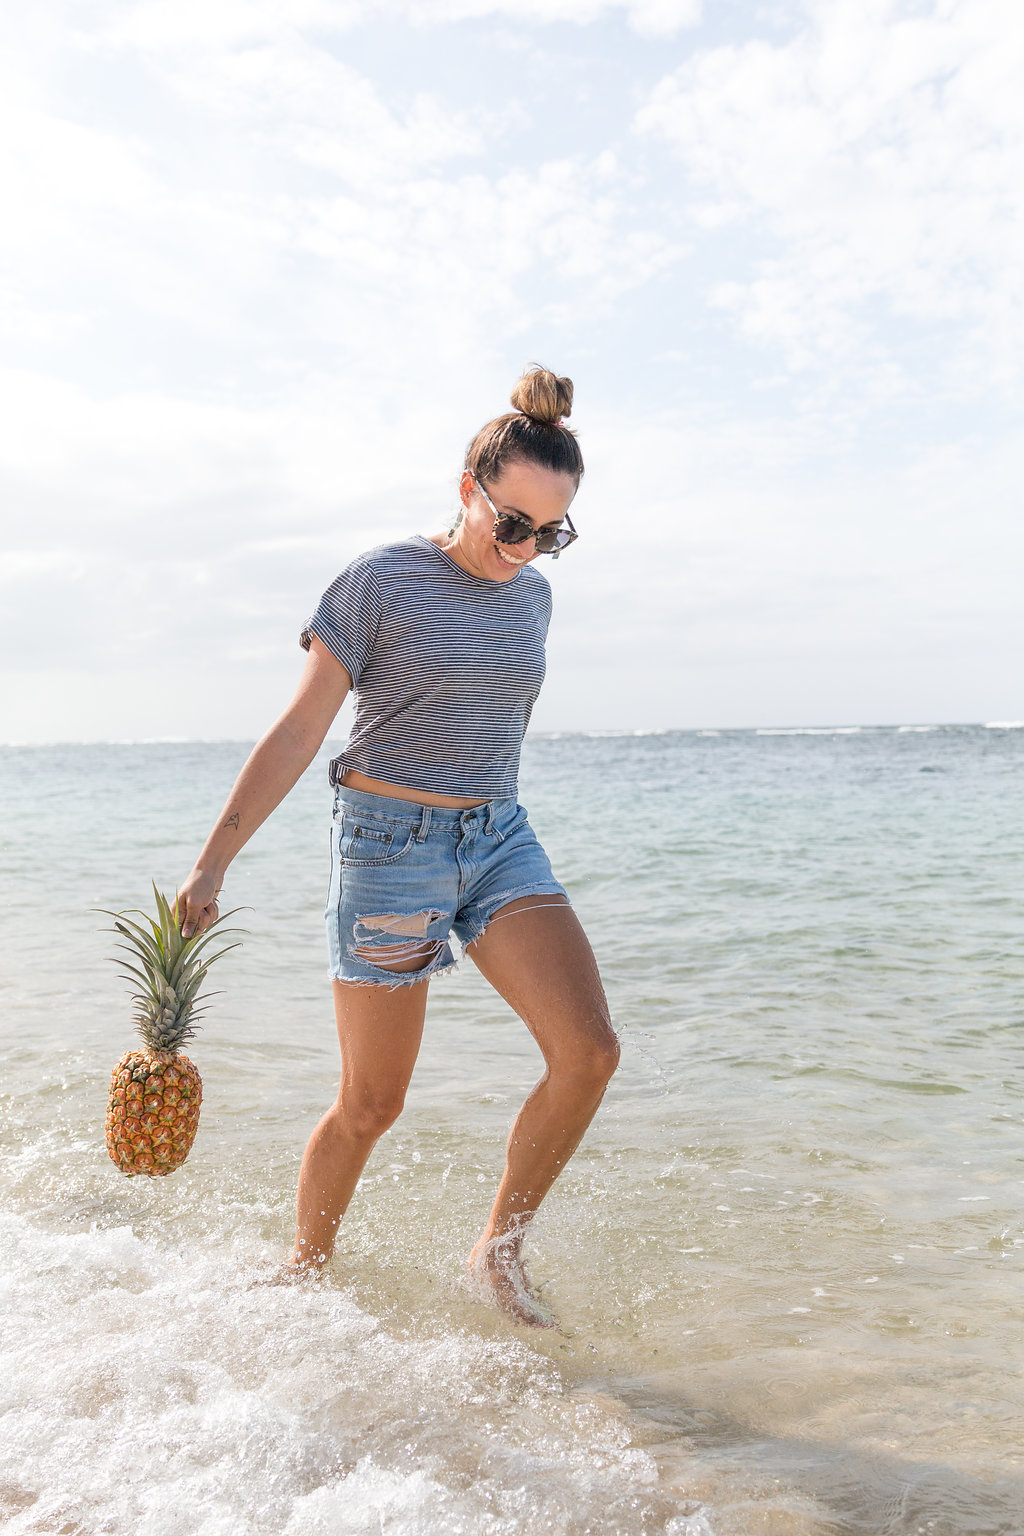
Hello friends!! I feel like its been awhile since i've written a blog post. I promise to get more consistent! After a few rainy & gloomy months here on Oahu, the sun is FINALLY starting to come out! It seems like going to the beach is all I can think about lately and I never thought I would be THAT kind of person, the beach bum with an extreme addiction to the sun, water, and sand between the toes. But, here I am. 

Even though I am probably the Sun's biggest fan, I am SUPER careful to always practice SAFE-SUN so that I don't get sun damage. You see, skin cancer runs HEAVILY in my family. My mom has gotten skin cancer so many times I can't even count it on one hand. My dear friend died of Melanoma in his twenties. I couldn't believe it. People often talk about breast cancer or lung cancer or prostate cancer but people don't often talk about skin cancer. I'm here to tell you that skin cancer is a BIG DEAL and you want to protect your precious skin from it at all costs! 

Other than cancer itself, the sun can cause irreparable damage to your skin! The sun is the #1 premature ager for skin and can cause sun spots, wrinkles, etc! 

I don't want to be ALLLL negative, though. The sun actually has some pretty amazing benefits too!! Getting sun exposure is actually crucial to your health! Vitamin D is an incredible vitamin that our body NEEDS for immunity, hormone balance, digestion, etc! FULL DISCLOSURE: I believe in the benefits of the sun so much that I'm all about laying in the without sunscreen on for 10-15 minutes to get all the GOOD UV rays on my body. After that, though, I slather on the sunscreen & can enjoy the rest of my time in the sun knowing that I am protecting my skin! 

Here's a couple of my SAFE-SUN tips!!!

1. ALWAYS wear a hat. Please, for the love of everything good, wear a hat!! The skin on our face is much thinner and more sensitive than other places on our body. Another one of my dear friends just had to get surgery on the corner of her EYE because of skin cancer. By wearing a hat (& a good quality SPF on your face) you are not only protecting your skin from cancer, but also from sun spots! 

2. Don't just use spray sunscreen, lotion sunscreen is where it's at! I only purchase high-quality sunscreens with minimal chemicals and healthy benefits for your skin! Most spray sunscreens have many harmful ingredients that you really don't want anywhere near you! Because of that, I normally stick to lotion sunscreens! Not only do they add a thicker layer of protection to your skin but they also have vitamins that go back in your skin to help nourish it even more! This one is my absolute favorite. I also just bought the new Pacifica spray sunscreen from Target! I haven't tried it yet but I am excited about trying a non-toxic spray option! 

3. Re-apply every two hours! I know that sounds so elementary but it is vital. You can't just apply sunscreen once and think you are fine. Reapply every time you get out of the water or as soon as your skin starts to feel "tingly" like it can feel in the sun on it! 

4. Remember that this will ALL be worth it in twenty years. I have to end with this tip because I know so many people who goto tanning booths and just day "oh well, i'll pay for it later I guess". DON'T DO THAT! If someone told you that you could eat a certain way to avoid all types of cancer, would you do it? The same goes with your skin! YOU are in control of how you treat your skin and so treat with with love & kindness & protection! I'm saying all of this with the utmost love because I care about every single person who reads this blog and I don't want you to go through what I have seen some of my loved ones go through. <3 

I hope you love these safe-sun tips! Do you have any others? Comment them down below! I'd love to hear them! :) 

xo,

Lauren

ss-bb-1.jpg
ss-bb-2.jpg
ss-bb-5.jpg

Dessert in a cup smoothie recipe

I can’t wait to share this recipe with you because it is definitely one of my absolute favorites! This smoothie isn’t just a normal smoothie, it truly is a healthy decadent treat! This smoothie is creamy and chocolatey and almost like a chocolate pudding in texture! It’s the perfect treat for after dinner, an afternoon pick-me-up, or honestly any time! It has antioxidants from the cacao, healthy fats from the avocado, and lots of fiber from the chia seeds! 


IMG_7922.jpg

Dessert in a cup:

-½ avocado

-1 cup almond milk

-2 tablespoons chia seeds

-1 tablespoon cacao powder

-1/2 teaspoon cinnamon

-1/2 teaspoon vanilla extract

-1 tablespoon coconut butter

-1 tablespoon agave (you also could add in a frozen banana for a little more sweetness!)

-3-4 ice cubes


Blend & Enjoy!


XO,Lauren

XO,

Lauren

Green Power Smoothie Recipe

Today we are making a different type of smoothie than I normally would.  We are making a green power smoothie! This recipe is in between a smoothie and a green juice and it’s my go-to when I need to give my body a reset! Out too late last night? Had one too many drinks? Feeling under the weather? This recipe is the perfect way to give your body a reset and immunity boost! 

IMG_7856.jpg

Green Power Smoothie

-1 Handful Kale

-1 Handful Spinach

-1/2 Apple

-Squeeze of ½ Lemon

-1 cup of water or coconut water

*Blend for 30 seconds and enjoy! 

IMG_7898.jpg

Let me know what you think of this simple, yet nutritious recipe! Have a great day!

xo,

Lauren

Antioxidant Overload Smoothie

IMG_7764.jpg

I am so so excited to share this recipe with you! This is my favorite fruit-based smoothie and it is the perfect afternoon pick-me-up! Skip the mid-afternoon coffee or sugary snack and instead make this smoothie! I also will make this smoothie for my lunch, especially during the Spring and Summer! It is super refreshing, hydrating, and again, NUTRIENT DENSE!

Lets talk about antioxidants because this smoothie has a TON of them! Antioxidants fight free radicals found in the body. Free radicals cause cancer and other diseases and so its super important that we are fueling our bodies with lots of antioxidants! Acai, blueberries, and cacao all have antioxidants in them which makes this smoothie super powerful in cleansing and filling your body with what it NEEDS! 


IMG_7739.jpg

Antioxidant Overload Smoothie

-1 packet of acai

-1 handful of frozen blueberries

-1 handful of frozen strawberries

-half a frozen banana

-1 cup almond milk

-1 teaspoon chia seeds

-1 teaspoon bee pollen OR flaxseed

-1 tablespoon cacao nibs (if you couldn’t tell, I put cacao nibs on EVERYTHING!)

Optional: 1 tablespoon of coconut oil or flaxseed

Blend for 30 seconds & enjoy!! Let me know what you think of this recipe! Tag me on Instagram and use the hashtag #livewellwithsmoothies so I can show you some love!

Have a great day, everyone!

xo, Lauren